Project Templates (Delphi)
Hydra comes with a couple of project templates that help to start a plugin or host projects.
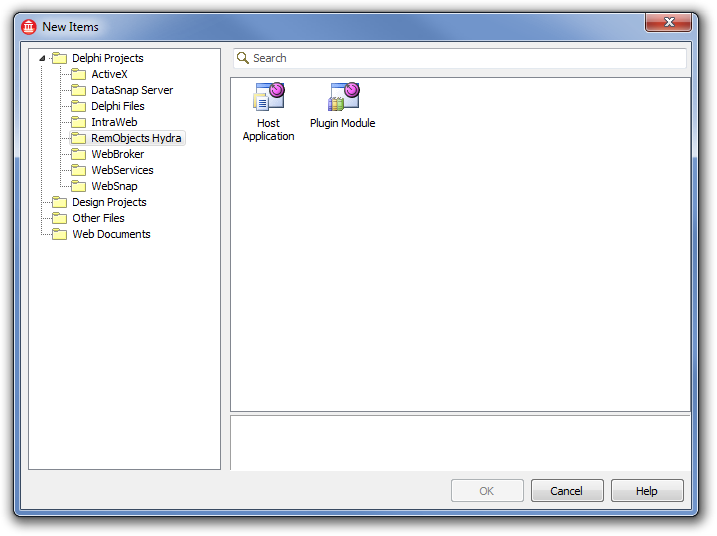
You can find these project templates in File -> New -> Other by selecting the RemObjects Hydra category:
Host Wizard
You can start the new host wizard by selecting the Host Application option.
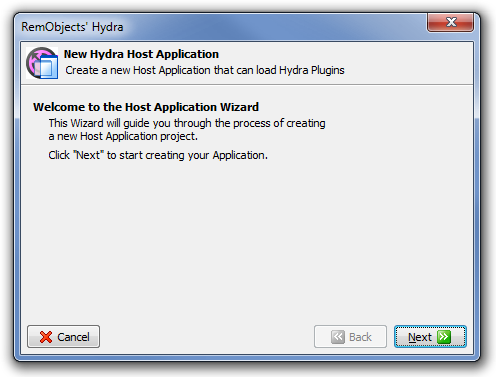
The New Hydra Host Project wizard will start and you will be presented with a Welcome screen.
The next page allows you to set a destination folder, a project name and the platform of the host:
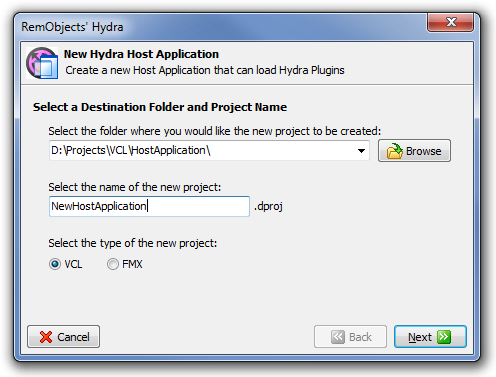
The wizard allows you to choose between FireMonkey and VCL frameworks.
After everything is set, the wizard will show a summary page:
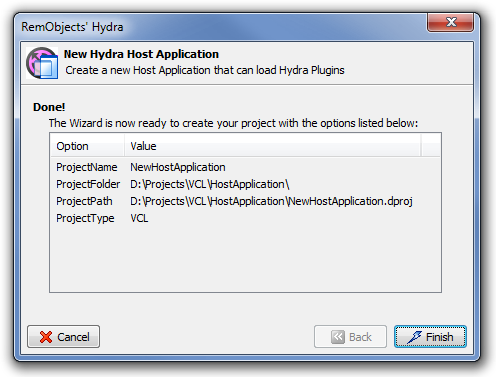
It will then create a new project that contains the host application and show a dialog that allows you to choose runtime package settings:
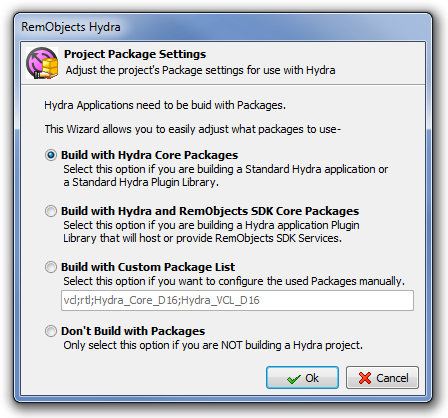
After finishing its work, the wizard will create a new application that is ready to work with Hydra plugin modules.
Plugin Module Wizard
To start the plugin module wizard, you need to select the Plugin Module option.
The New Hydra Module Project wizard will start and you will be presented with a Welcome screen.
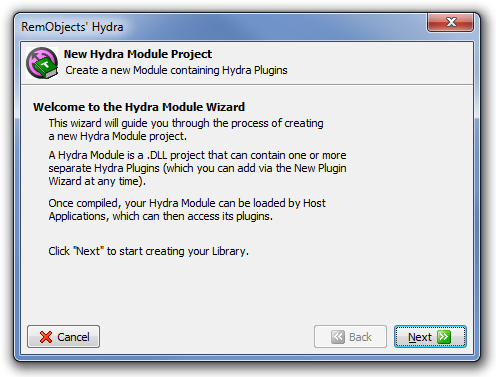
The next page allows you to select a folder where the project will be saved, the name of the project, and its type:
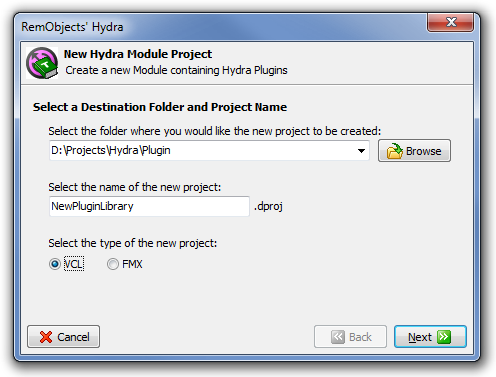
As you can see, the wizard allows you to choose between FireMonkey and VCL frameworks; to create a VCL plugin module, you will need to select the VCL option.
The next step is to configure a module controller for the project:
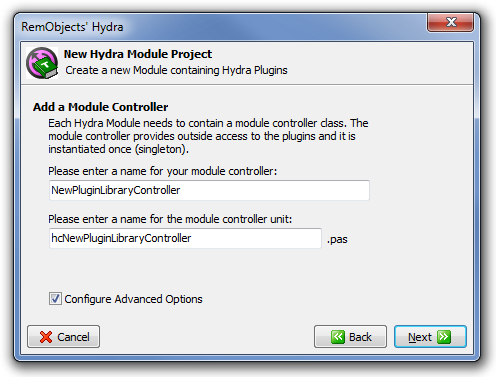
You can choose a name for the controller and (by checking the Configure Advanced Options) set up its data.
The following screenshots shows pages with additional options for the module controller:
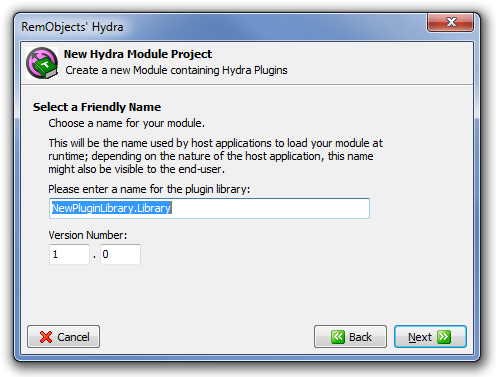
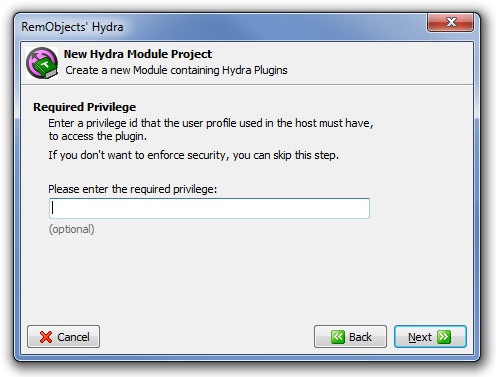
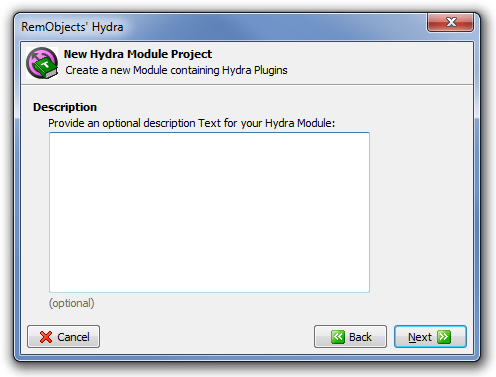
These pages allow you to set module controller data like a name or a description. These settings are optional and can be changed later in the project.
The final screen will summarize the project options:
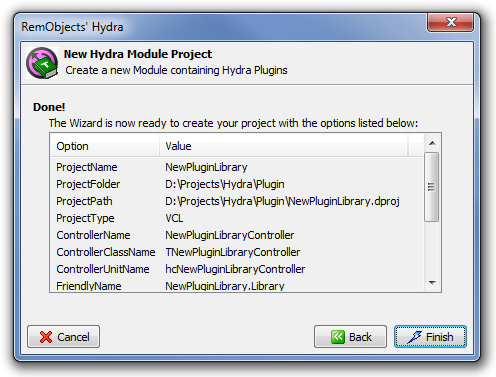
If all settings are to your liking, press the Finish button and the wizard will create a new Hydra plugin module and add a new module manager to it.
Adding a Plugin
After the new plugin module is created, it will automatically start the New Hydra Plugin wizard that will allow you to create a new plugin. You can launch this wizard anytime from the IDE menu File -> New -> Other by selecting the RemObjects Hydra category and the Hydra Plugin item.
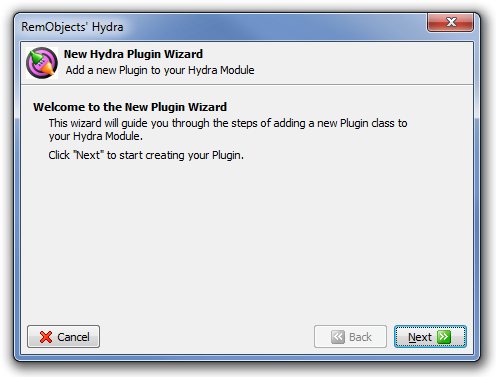
On the next page you will be able to select the type of the plugin:
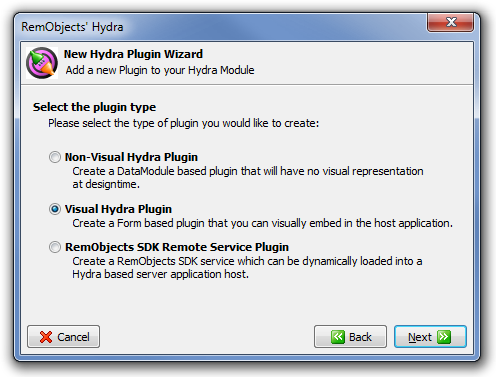
The wizard allows you to create three different types of plugin.
After selecting the plugin type, you need to specify the plugin name:
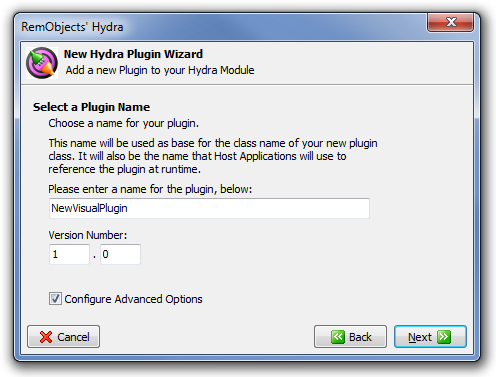
You can also set the plugin version and additional options by checking the Configure Advanced Options. The advanced options pages are exactly the same as in the New Hydra Module wizard. They are optional and can be edited anytime in the project.
After everything is set, the wizard will show a summary page:
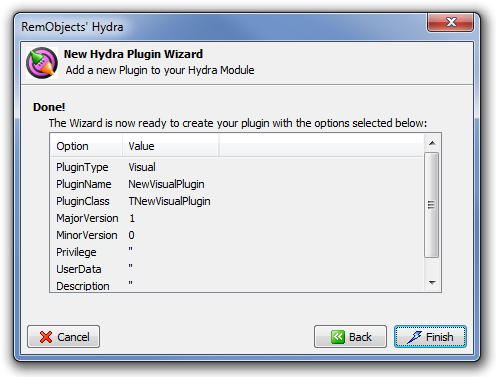
It will then add a new file that contains the visual plugin.
Read More
If you need more information on how to create and use hosts or plugins, please refer to the following articles: